Onigiri
Servings: 2
Preparation Time: 15-45 minutes
Cooking Time: 30 minutes
Tools
- Plastic wrap
- Mold
- Rice Cooker
Recomendations
Ingredients
- Water
- Salt
- Vinegar
- Canned pink salmon
- Sesame oil
- Calrose Rice
- Seaweed Sheets
- Soy sauce
- Kewpie mayo
- Mayo
- Sriracha
Instructions
Step 1: Prep the Salmon
- **Drain the liquid:** Open the canned salmon and drain the liquid into a bowl. You can reserve this liquid for other uses, like making a sauce.
- **Flake the salmon:** Place the drained salmon on a plate and use a fork to gently flake it into small pieces.
- **Remove bones (optional):** As you flake the salmon, feel for any bones. You can use your fingers or tweezers to remove them and discard.
- **Skin removal (optional):** Canned salmon may have some skin. If you prefer a smoother texture in your onigiri filling, remove the skin before flaking. You can choose to leave the skin on for added flavor and nutrients.
The following steps are optional, but may improve the texture of your onigiri filling.
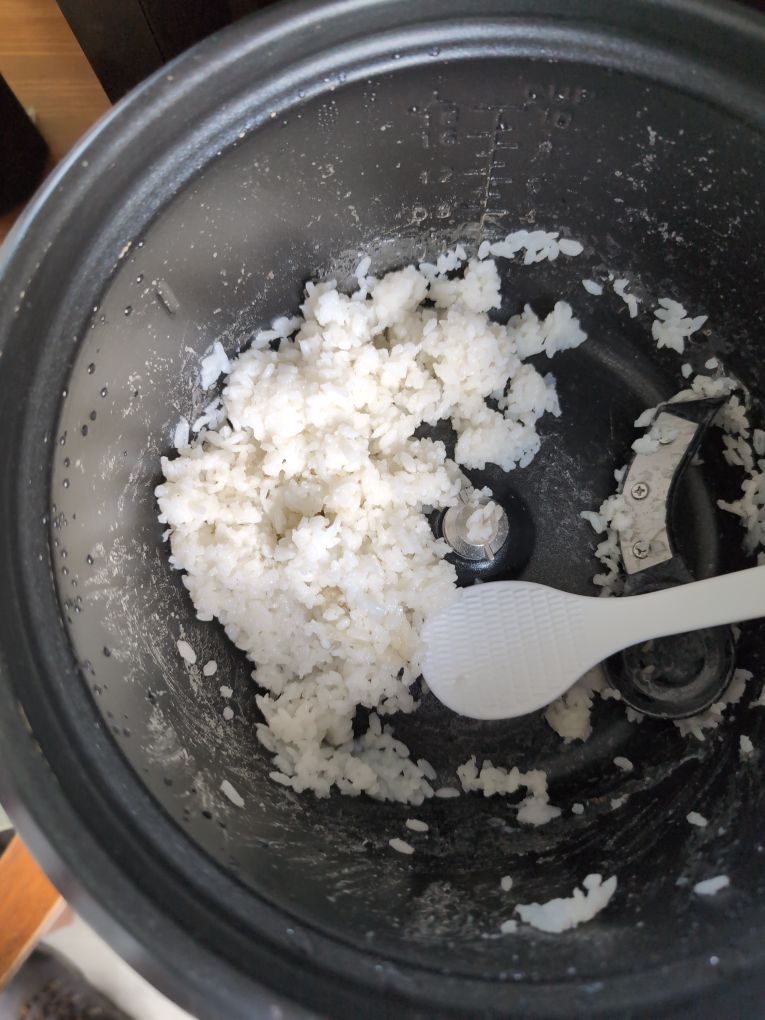
Step 2: Prepare the Sticky Rice
This step creates the perfectly seasoned rice base for your onigiri.
- **Cook the rice:** Use a rice cooker for best results. Follow the instructions for your specific rice cooker and type of rice, but with a slight adjustment: **add a bit more water than usual**. This will help achieve the sticky texture ideal for onigiri.
- **Transfer and fluff:** Once the rice is cooked, fluff it gently with a rice paddle or fork and transfer it to a large bowl.
- **Seasoning mixture:** In a small bowl, combine:
- 1 teaspoon sesame oil
- Rice vinegar (to taste)
- Salt (to taste)
- **Optional:** Apple cider vinegar (for a stronger flavor)
- **Optional:** Sesame Seeds
- **Season the rice:** Gradually add the vinegar mixture to the rice, a little at a time, while mixing gently with a wooden spoon or rice paddle.
**Taste as you go:** This will help you avoid over-seasoning the rice. You can always add more, but you can't take it away!
- **Cooling tip:** After seasoning the rice, let it cool slightly before shaping your onigiri. This will make it easier to handle.
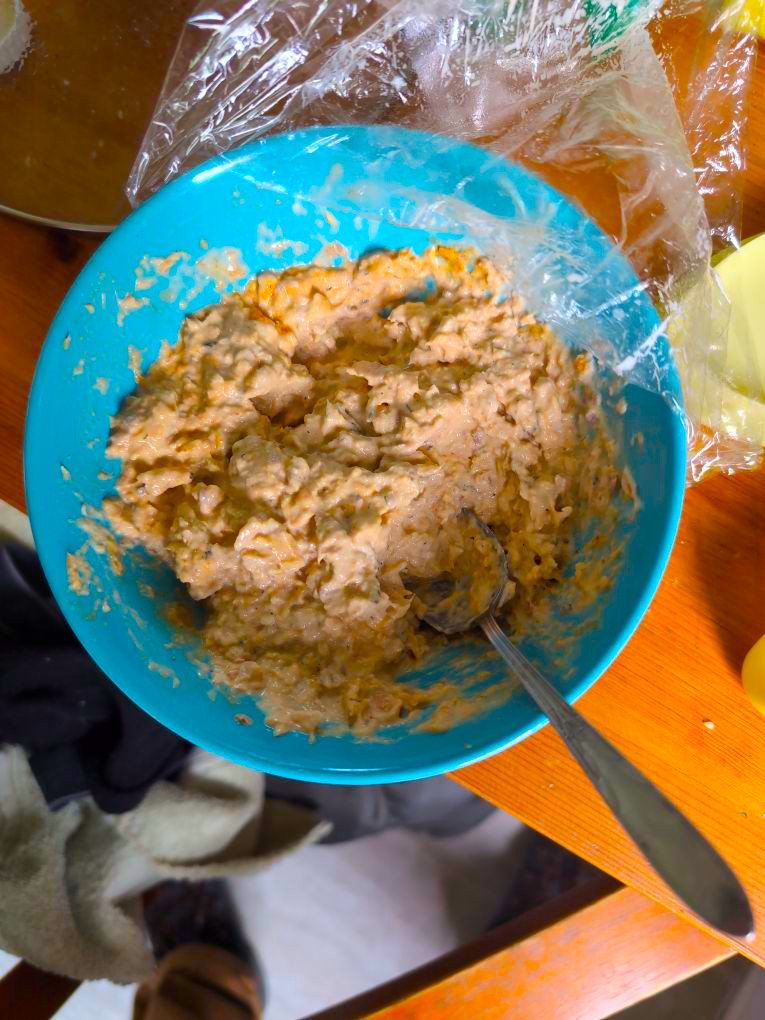
Step 3: Create the Flavorful Salmon Filling
This filling is a delicious and customizable option, feel free to adjust the ingredients to your taste preference. The goal is to create a strong flavor to complement the rice.
- In a bowl, combine the following ingredients:
- Canned salmon (about 213g, drained)
- 2 tablespoons mayonnaise
- 2 tablespoon Kewpie mayonnaise (optional, for a richer flavor)
- 3 tablespoons soy sauce
- 3 tablespoons sriracha or other spicy sauce (adjust based on your spice preference)
- 2 dash of salt
- Mix all ingredients together with a spoon until well combined and a consistent consistency is achieved.
Step 4: Shape the Onigiri
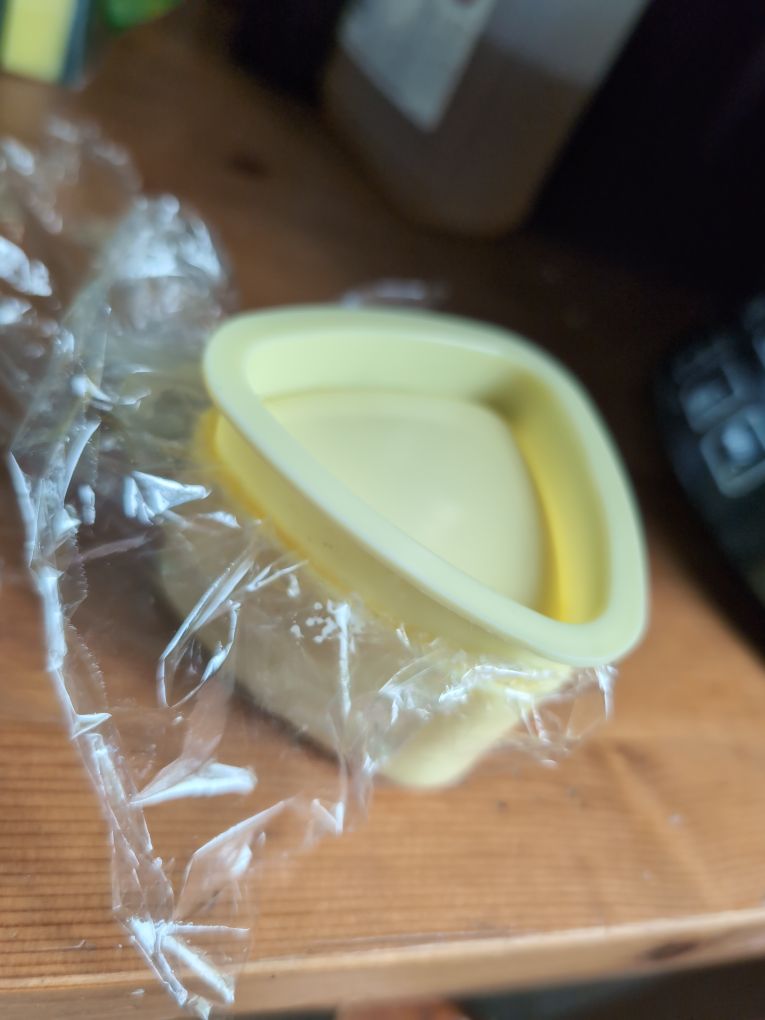
- Press a piece of plastic wrap into your onigiri mold, shaping it with your finger at the bottom for easier removal and less cleaning.
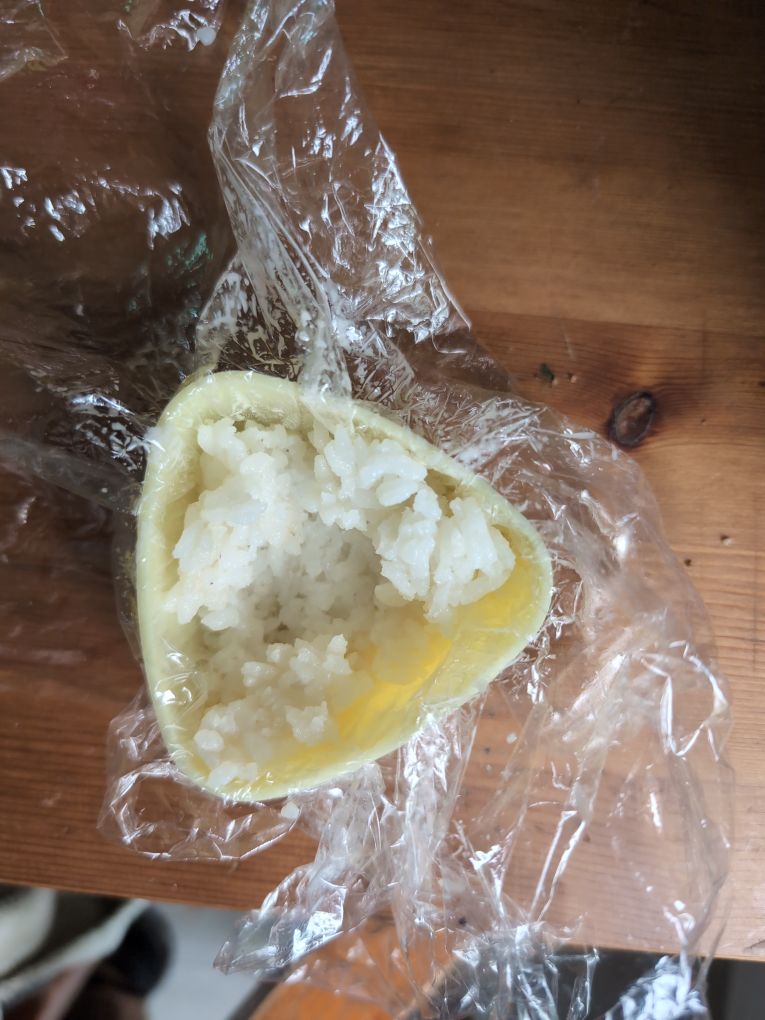
- Press 2 tablespoons of rice at the bottom of the onigiri mold. Use your thumb, ideally moist, to push the middle of the rice deeper to leave space for the filling.
- Add the salmon filling into the indentation you created in the rice.
- Cover the filling with another 2 tablespoons of rice, pressing gently to ensure the filling is enclosed.
- fold the excess plastic wrap over the rice to create a barrier between the rice and the mold lid, preventing sticking and making cleanup easier.
- Close the mold and press firmly until fully closed.
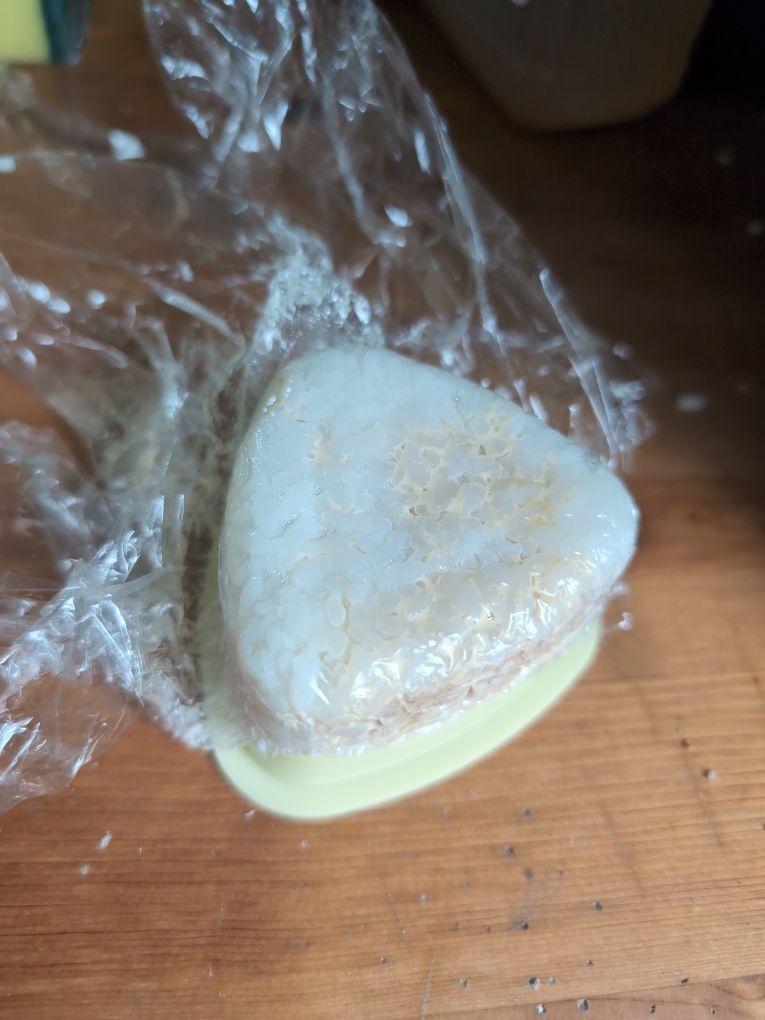
- Turn the mold upside down to remove it, carefully releasing the onigiri.


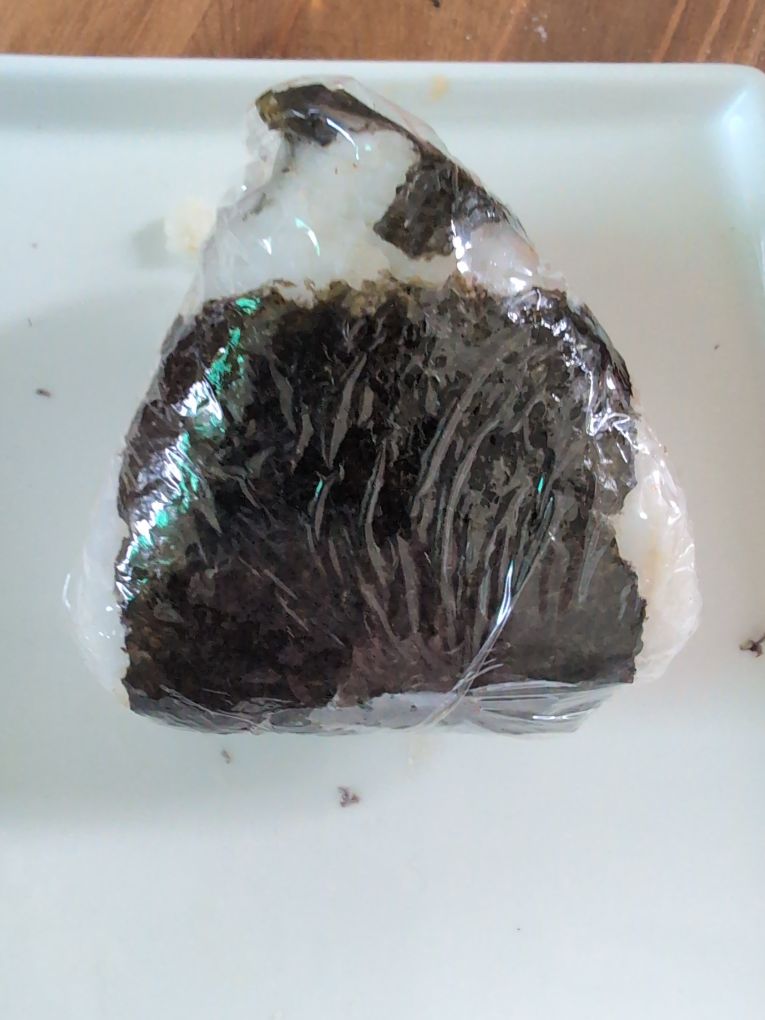
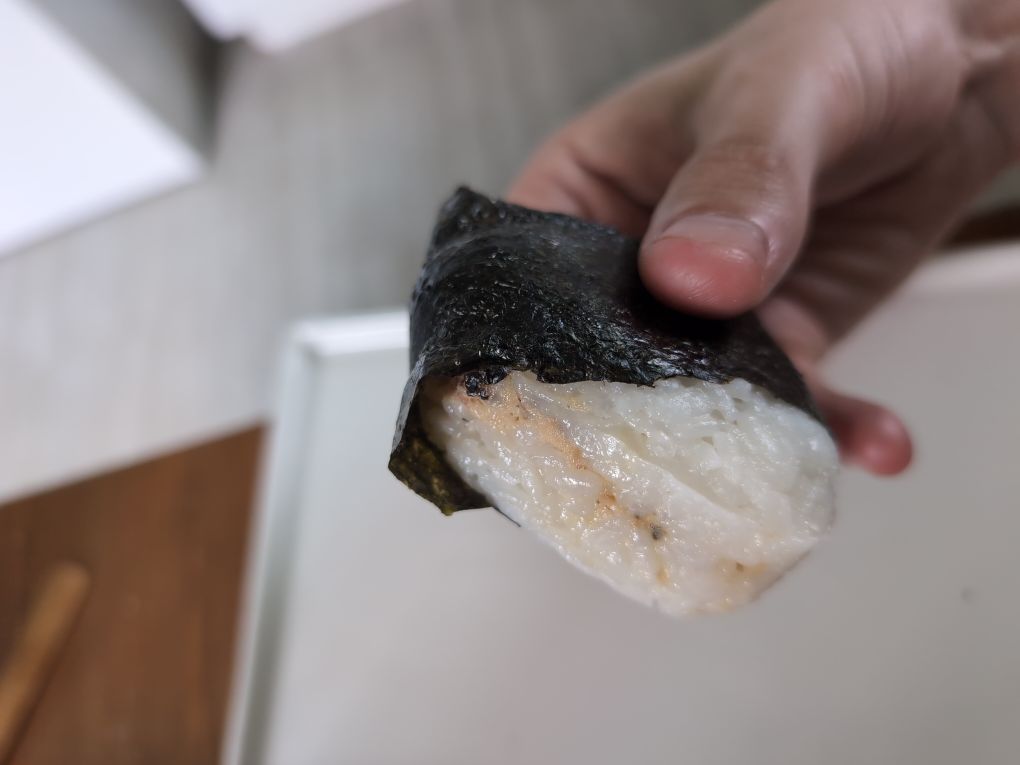
Step 5: Wrap the Onigiri
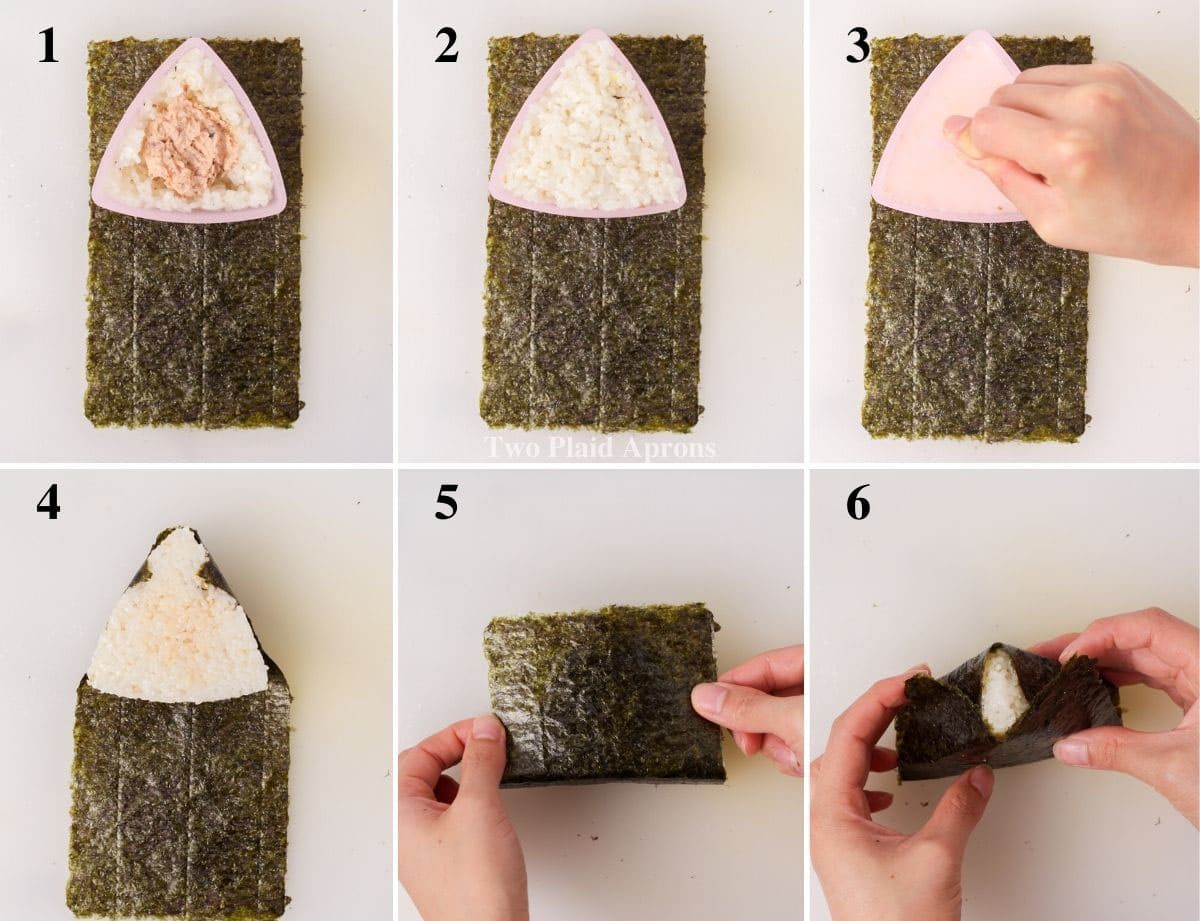
- Remove the onigiri from the mold and place it on a sheet of nori (seaweed).
- Fold the nori sheet around the onigiri, pressing gently to ensure it sticks to the rice.
- You can add water on the part of the nori that are in contact to help them stick to each other.

Step 6: Store and Serve
- Wrap the onigiri in plastic wrap or place it in a container to keep it fresh. It can be stored in the refrigerator and eaten within the next 3 days.